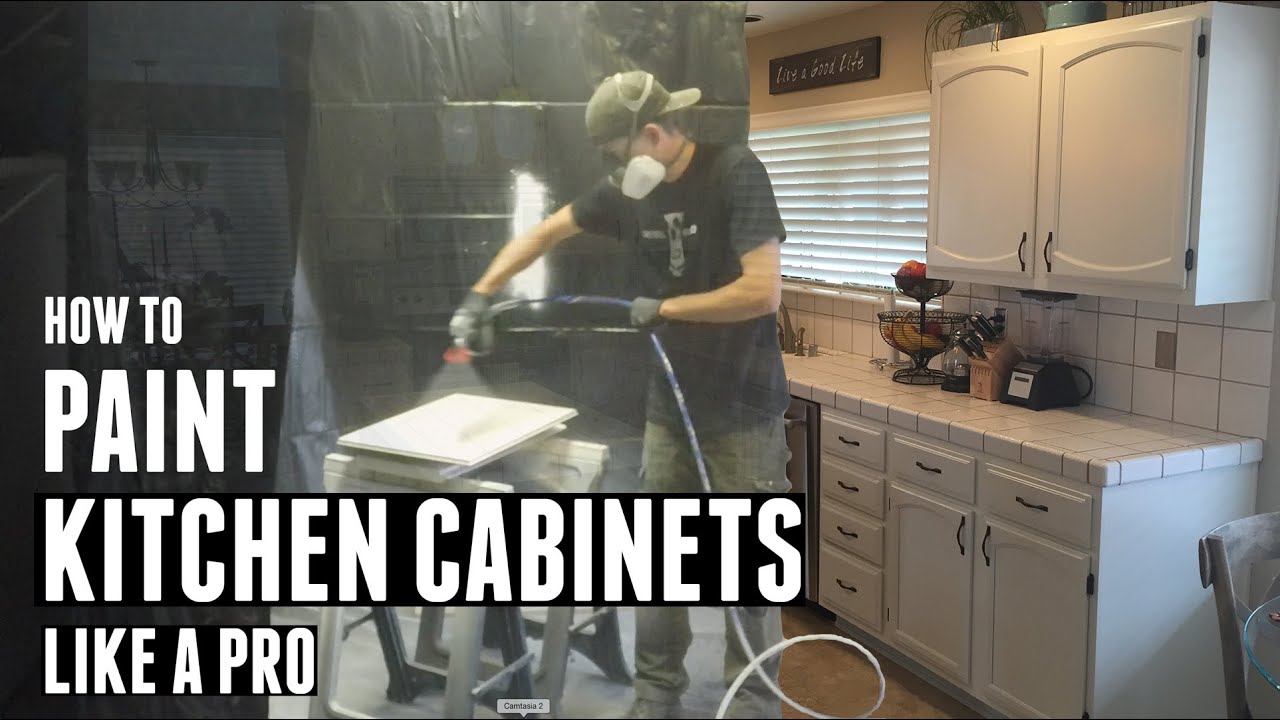
Tape rosin paper over the counter tops and flooring, and tape plastic sheeting over the backsplash, windows, fixed home appliances, and interior doorways (to secure the remainder of the house from dust and fumes). Mask off the wall around the cabinets. Finally, established a worktable for painting doors, drawers, and shelves.
" Old cabinets are covered with everything from hand oils to greasy smoke residue to petrified gravy," states Dee. "You have actually got to get all that off or the paint won't stick." Back out the hinge screws from the cabinet frame and remove the doors. Working methodically from delegated right, leading to bottom, label each one with a numbered piece of tape.
Set aside the shelf-hanging hardware. At your worktable, eliminate the pulls and hinges and conserve what's being recycled. On the doors, move the number from the tape to the exposed wood under one hinge. Cover it with fresh tape. Open the windows for ventilation and place on security gear. Scrub down all of the face frames, doors, drawer fronts, and shelving with an abrasive pad dipped in liquid deglosser.
Before the deglosser evaporates, quickly clean away the residue with another clean, deglosser-dampened rag. If you're transferring the hardware, fill the old screw holes with a two-part polyester wood or autobody filler. It embeds in about 5 minutes, so blend just little batches. (Dee includes a pea-size bit of hardener to a golf-ball-size glob of filler - painted cabinets with stained doors.) The filler diminishes a bit, so overfill the holes somewhat.
If it solidifies totally, sand it smooth - paint brush for cabinets. Sand all surface areas with the grain using 100-grit paper. To ensure no littles dust mar the finish, vacuum the cabinets inside and out, then rub them down with a tack fabric to capture any particles that the vacuum misses out on. Dee states, "Hand sanding is the best strategy on oak because you can press the paper into the open grain, which a power sander or sanding block will miss out on." When using a tack fabric, unfold each new fabric fully, down to one layer, then fold it to get the best dust collection surface.
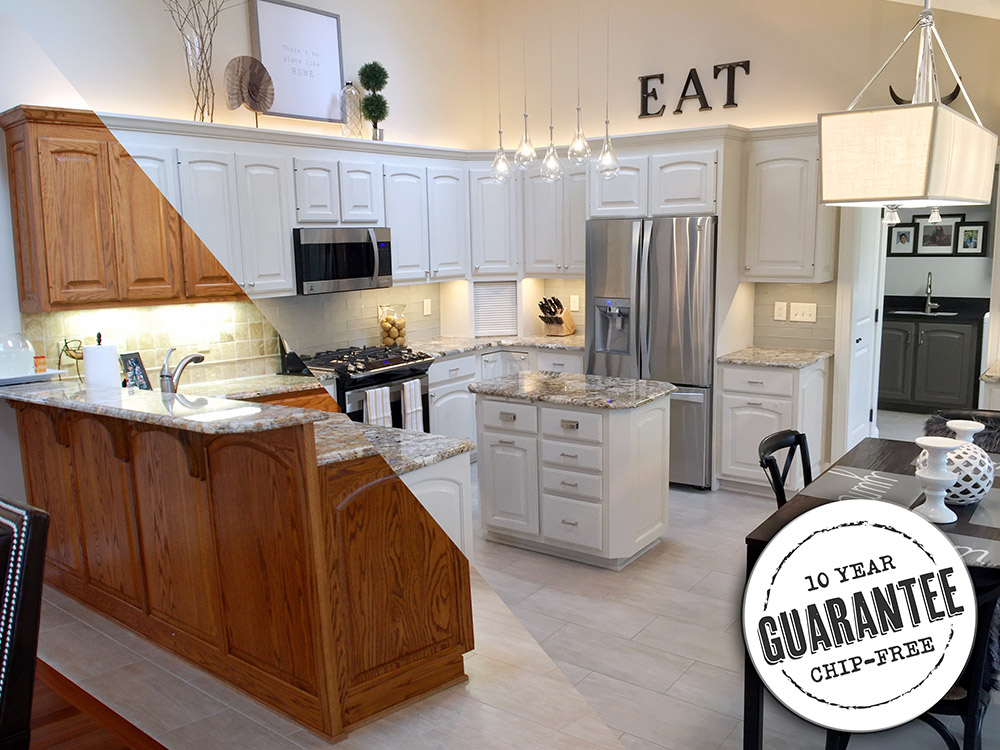
However they just sink into open-grained woods such as oak, ash, mahogany, or hickory. Brushing putty, the pudding-thick, oil-based finish Dee used on these oak cabinets, fills the grain as it primes the wood. A couple of caveats: It needs to be used with a good-quality nylon-polyester brush, which you'll have to toss away after each coat. off white cabinet paint.
The Ultimate Guide To Diy - check here 'Paint Kitchen more info Cabinets read more Like here A Pro'! - Fashion~beauty ...
Starting at the top of the cabinet, brush on the guide or brushing putty across the grain, then "tip off" pass the brush lightly over the damp finish in the instructions of the grain. Constantly tip off in a single stroke from one end to the other. Provide it a day to dry.
Sand any profiled surface areas with a medium-grit sanding sponge. When you're done, whatever should be glass-smooth. Follow the hidden structure of the cabinet or door with the brush. Where a rail (horizontal piece) butts into a stile (vertical piece), for circumstances, paint the rail first, overlapping a little onto the stile.
Where a stile butts into a rail, paint the stile first. painting brown cabinets white. Squeeze a thin bead of latex caulk into any open seams. Pull the suggestion as you go, then smooth the caulk with a damp finger. Fill any little damages, scratches, or dings with vinyl spackle, smoothed flat with a putty knife.